Quick Start Guide for Using DBGate on Windows and Linux
Table of Contents
Quick Start on Windows
Using the Portable Package
- Download the DBGate portable package.
- Unzip it to any folder on your local drive.
- Run
dbgate.exefrom thedbgatesubfolder.
Using the Installer Package
- Download the DBGate installer package.
- Unzip it to any folder on your local drive.
- Run
setup.exeto install DBGate. - Run
dbgate.exefrom theC:\Program Files\DBGate\dbgatefolder.
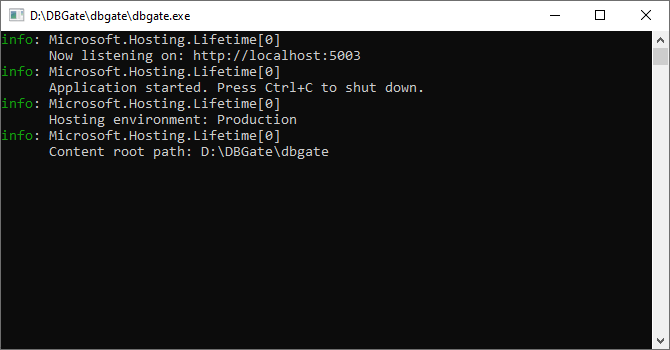
You should see the following console application:

If the console doesn't appear, run setup.exe from the dbgate folder and follow the wizard to install the ASP.NET Core Runtime.
Alternatively, you can download and install the Hosting Bundle, which includes the ASP.NET Core Runtime and IIS support, from:
Once the console app is running, open the following URLs in your browser: http://localhost:5003/ or https://localhost:5003/
You should see the index page.
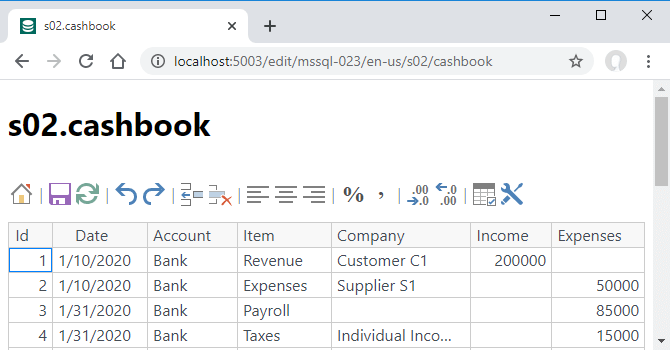
Click on the mssql-023 connection and open the cashbook table of the online sample:

Next, try connecting to your local SQL Server, MySQL, and PostgreSQL databases from the home page or using these direct URLs:
- http://localhost:5003/edit/mssql/
- http://localhost:5003/edit/mysql/
- http://localhost:5003/edit/pgsql/
You can view and edit data for free!
To connect to remote databases, add the server and database to the connection string like this: /edit/mssql:mssql.savetodb.com,AzureDemo100/.
At this point, you've tested both local and remote connections.
Now, run setup.exe from the dbgate folder or use the DBGate Setup link from the Start menu.
The wizard will help you configure an IIS website, IIS application, or a Windows service, along with HTTPS settings.
For more details, check out installing DBGate under IIS.
You can add connections to all your servers and databases. See appsettings and DBGate endpoints for more information.
Quick Start on Linux
Using the Portable Package
- Download the DBGate package.
- Unzip it and copy the
dbgatefolder to/var/www. - Navigate to the
/var/www/dbgatefolder and run:dotnet dbgate.dll
You should see the following response:

If DBGate fails to start, install the ASP.NET Core Runtime by following the instructions at:
Once DBGate is running, you can retrieve data using a command like:
curl http://localhost:5003/api/mssql-023/cashbook
You should see data from the online SQL Server database.
Press Ctrl-C to close the app and refer to the next steps in how to install DBGate on Linux.